If you’re managing multiple projects or want to create a separate section of your website (like a portfolio or blog), creating a subdomain is a great solution. In this tutorial, you’ll learn how to create a subdomain in Hostinger and install WordPress on it — step by step.
What Is a Subdomain?
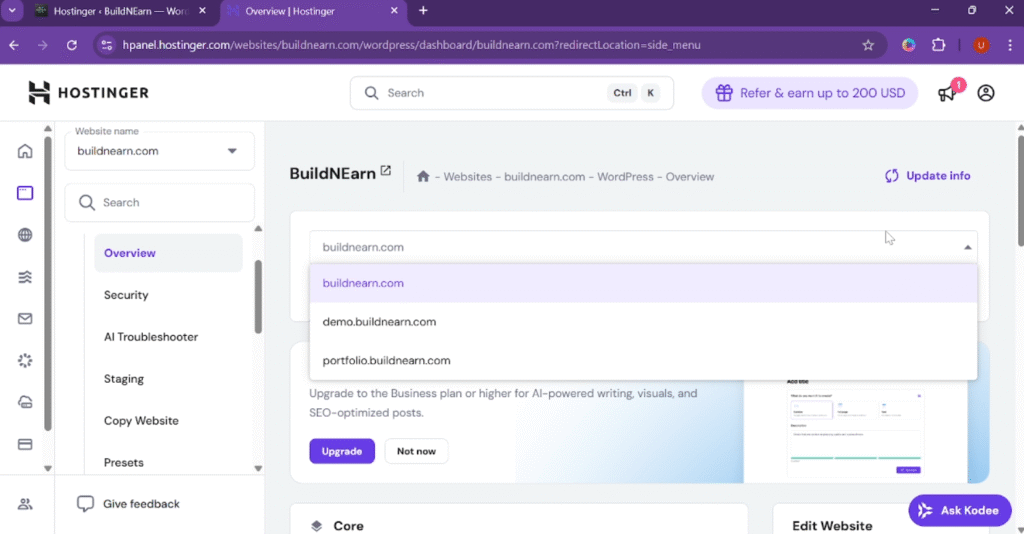
A subdomain is an addition to your primary domain that allows you to create content organized separately.
For example:
- Main domain: buildandearn.com
- Subdomain: portfolio.buildandearn.com
You can use subdomains for blogs, stores, or demo websites — without affecting your main site.
Get 20% Discount on your Hosting
Log in to Your Hostinger Dashboard
To get started, log into your Hostinger account. After you’ve accessed the dashboard, the left sidebar will show a number of different options.
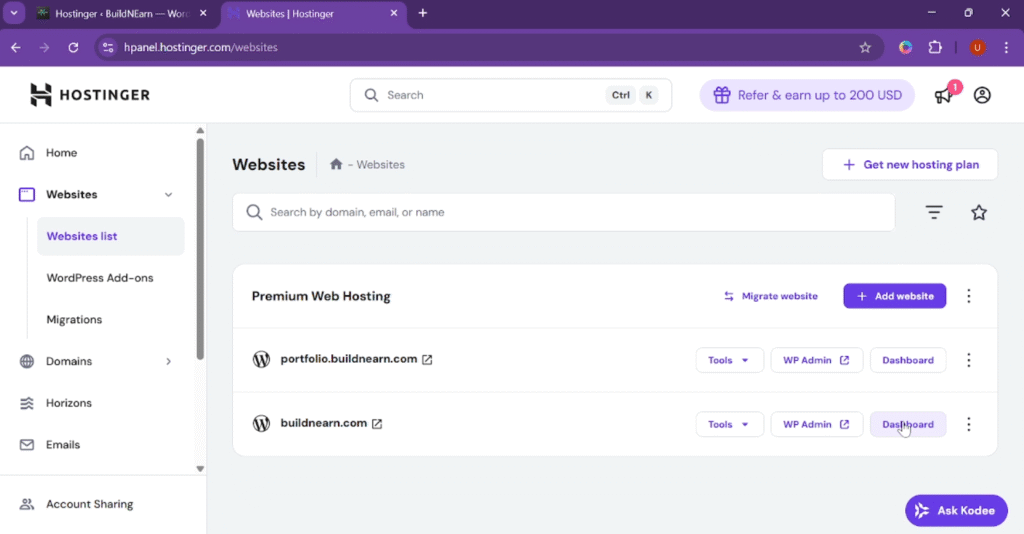
Click on “Websites” in that section, you will see all of the domains/subdomains associated with your account.
Open the Domain Dashboard
Choose the main domain from the websites list of which you want to create a subdomain.
In this example, we’ll use buildandearn.com.
Click “Dashboard” next to your main domain. This will open all related management options.
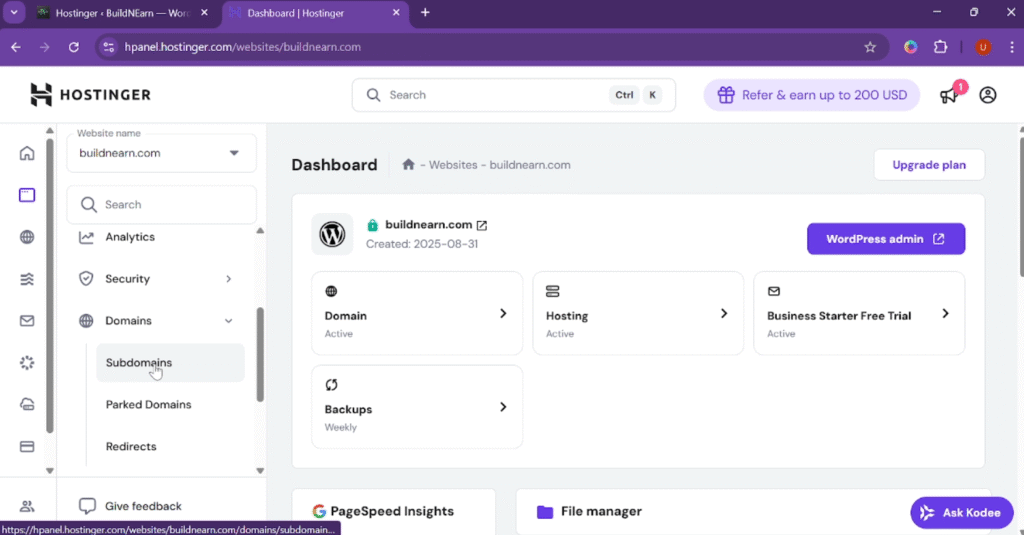
Go to the Subdomains Section
Now, from the left sidebar, click on “Domains” and then select “Subdomains.”
Here, you’ll see an option to create a new subdomain for your existing domain.
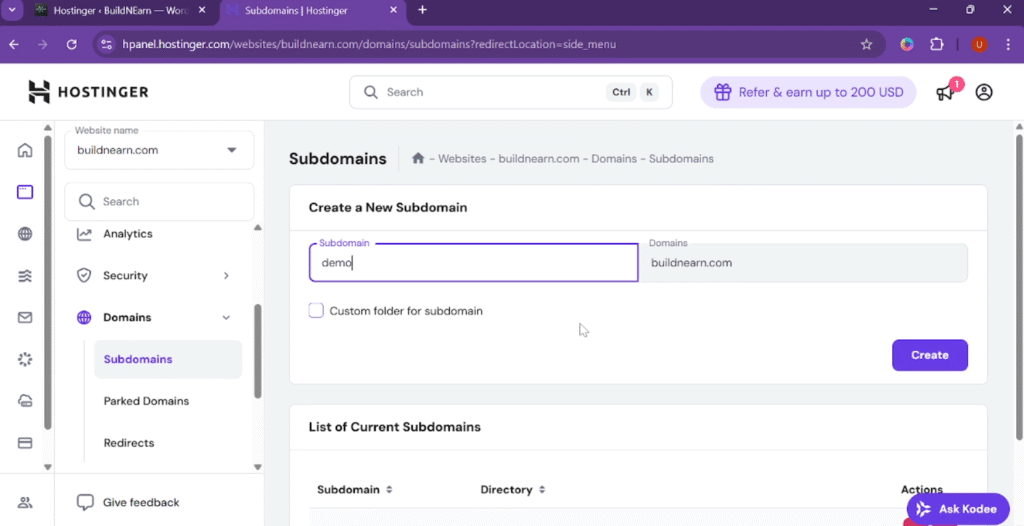
Create a New Subdomain
In the subdomain creation field:
- Type the name of your new subdomain — for example, demo.
This will create demo.buildandearn.com. - (Optional) You can also select a custom folder for your subdomain.
This helps you manage files separately, but it’s not required.
Click “Create” — and within a few seconds, Hostinger will confirm that your subdomain has been created successfully.
Install WordPress on the Subdomain
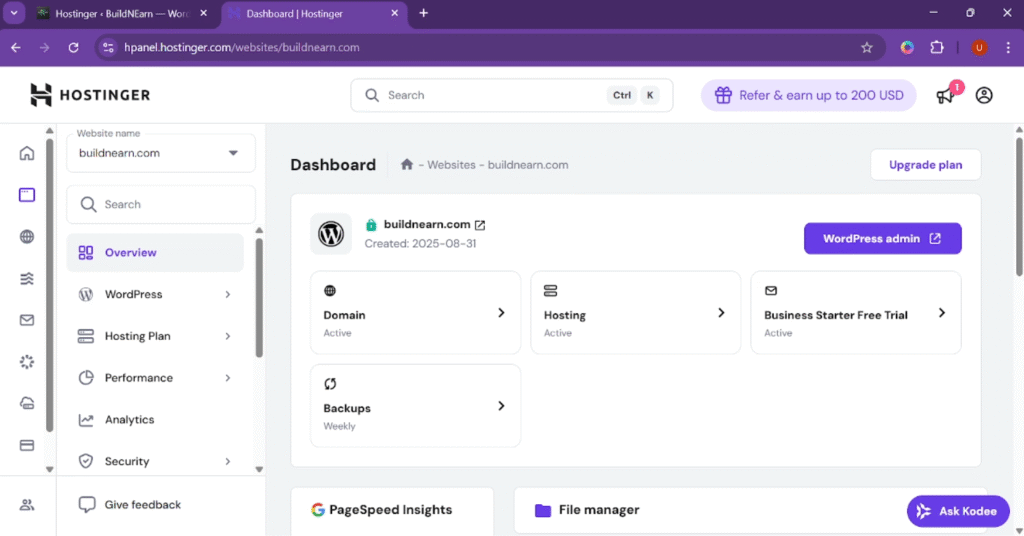
After creating the subdomain, go back to your Websites list. You’ll notice the new subdomain is now listed, but it doesn’t have WordPress installed yet (you’ll see no “WP Admin” button).
To install WordPress manually:
- Click on the Dashboard next to your new subdomain.
- Go to the WordPress section from the left menu and select “Overview.”
- Under “Install WordPress,” choose your new subdomain (e.g., demo.buildandearn.com).
- Fill in the required details:
- Website Title
- Admin Email
- Username and Password
- Keep the default PHP version and language options unless you need specific changes.
- Click “Install.”
Also read: “How to create a landing page using Hostinger Website Builder“.
Hostinger will install WordPress on your subdomain. This process usually takes a few moments.
Access the WordPress Dashboard
Once installation is complete, go back to your websites list. You’ll now see the “WP Admin” button next to your new subdomain. Click on it to access your WordPress dashboard.
You can also visit your subdomain in the browser — it should show the default WordPress homepage, confirming that WordPress has been successfully installed.
You’ve successfully created a subdomain in Hostinger and installed WordPress on it. If you found this tutorial helpful, feel free to share it with others who are learning website development or using Hostinger.