In this tutorial, we will discuss how to use your Hostinger balance to purchase services within your Hostinger account. The Hostinger balance is essentially your affiliate earnings, which you can transfer into your account and then use to buy domains, hosting, or other Hostinger services.
What Is Hostinger Balance?
Your Hostinger balance comes from the Refer & Earn (Affiliate) program. Once you earn commissions, you can:
- Transfer the balance into your Hostinger account
- Withdraw it to PayPal (minimum $50)
- Withdraw it via wire transfer (minimum $200)
Alternatively, you can directly use this balance to purchase Hostinger services without using a credit card.
Get 20% Discount on your Hosting.
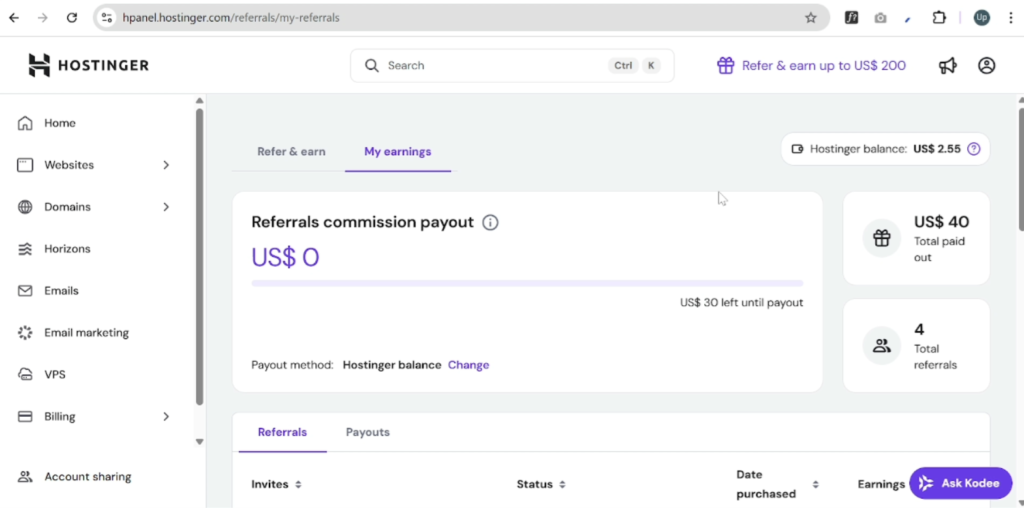
Step 1: Check Your Hostinger Affiliate Balance
First, log in to your Hostinger account.
- Go to the Refer & Earn section
- Click on Earnings
Here, you will see your available affiliate balance. In my case, I currently have $2.55 USD. Hostinger allows you to claim your earnings once you reach $30. Previously, I transferred larger amounts (such as $40 or $50) into my Hostinger balance.
Step 2: Choose a Service to Purchase
In this example, I’ll show you how to purchase a domain using the Hostinger balance.
- Go to the Domains section
- Click Add New Domain
- Select Get a New Domain
Now, search for your desired domain name. I pasted a domain name and searched for it. I decided to choose a .shop extension. Hostinger was offering a 97% discount, meaning the domain cost around $0.99 for the first year, with renewal at approximately $35 per year.
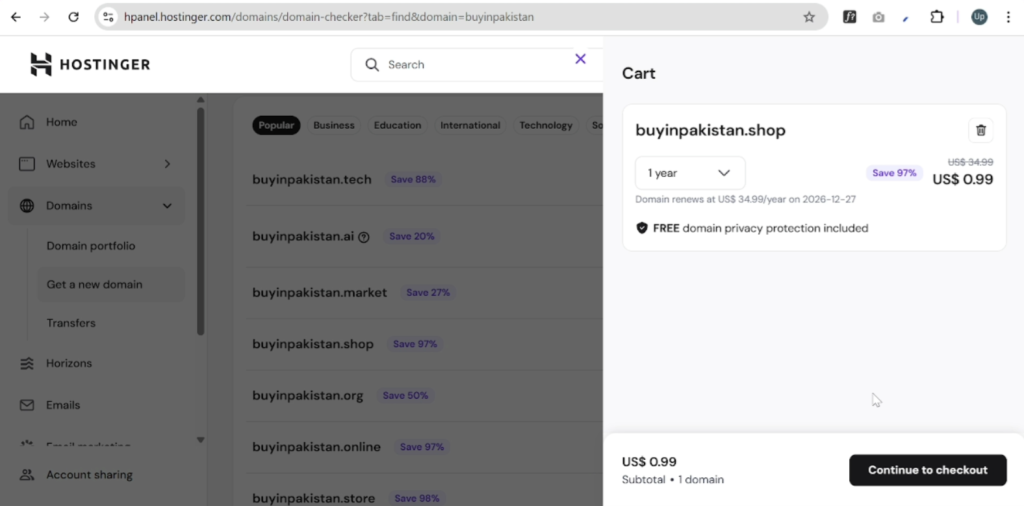
Step 3: Add the Domain to Cart
- Click Add to Cart
- Select Continue to Cart
- Review the pricing (about $0.99 for one year)
- Click Continue to Checkout
At this stage, Hostinger will usually show card payment by default.
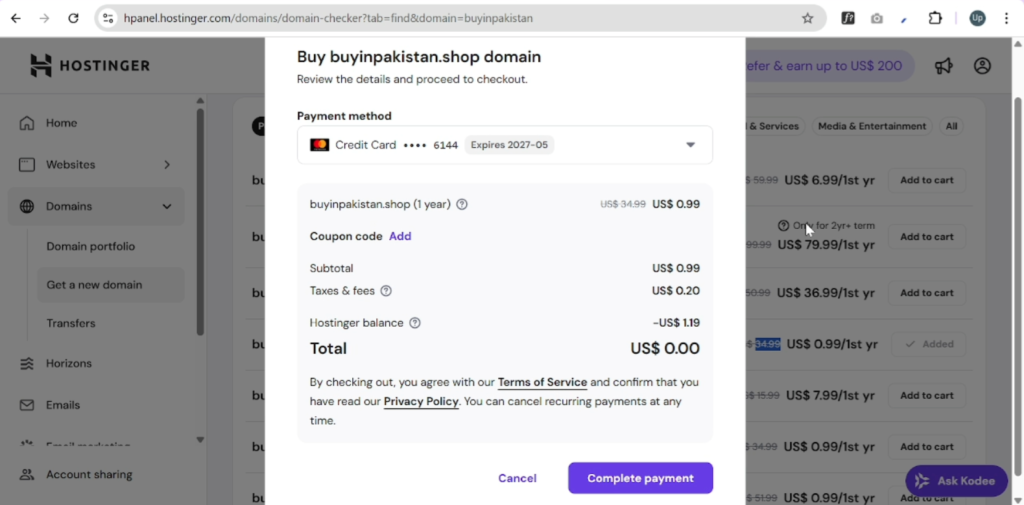
Step 4: Pay Using Hostinger Balance
To pay using your Hostinger balance:
- Click Choose a Different Payment Method
- Hostinger will automatically select Hostinger Balance if sufficient funds are available
- Click Choose Payment Method
The payment will process automatically, and once completed, you’ll see a Payment Successful message. There is no need to manually select the balance if it is available—it applies automatically.
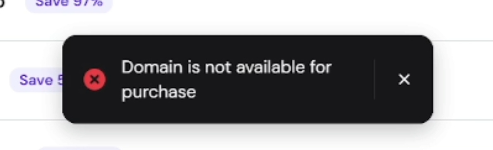
If you try to add the same domain again, you’ll see an error stating that the domain is no longer available, which confirms that the purchase was successful.
Step 5: Complete Domain Registration
After purchasing the domain:
- Go to Domains → Domain Portfolio
- Click on the newly purchased domain
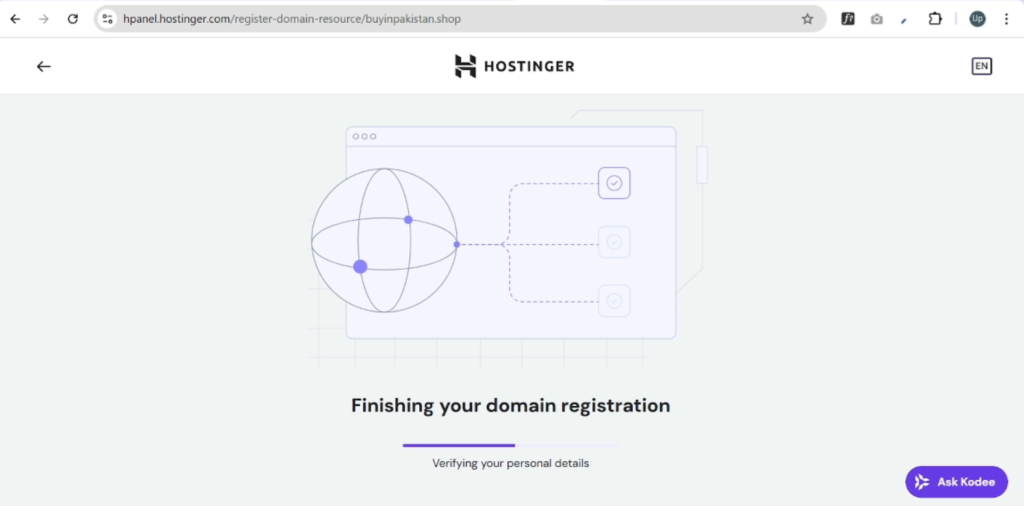
- Select Finish Registration
- Verify your personal details
The system will take a few moments to complete the registration. Once finished, your domain will be ready to use.
When prompted to purchase hosting, you can simply click Skip for Now if you don’t need hosting immediately.
Step 6: Confirm Domain and Balance Deduction
Now, if you return to Domains → Domain Portfolio, you will see your newly purchased domain listed in your account.
If you check the Earnings section again, you’ll notice that your Hostinger balance has been deducted. In my case, the domain cost approximately $1.20–$1.50 USD, including tax.
Also Read: How to Create a Subdomain and Install WordPress in Hostinger
Final Thoughts
This is how you can use your Hostinger balance to purchase services such as domains or hosting directly within your Hostinger account—without using a credit card or external payment method.
If you found this guide helpful, make sure to share it with your friends and family members. Thank you for reading.