In this guide, I will show you how to transfer a domain from one Hostinger account to another Hostinger account. This process is useful if you manage multiple accounts or want to move domain ownership to a different email or client account.
Prerequisites
Before starting, make sure:
- You are logged in to both Hostinger accounts
- You have access to the email address associated with the receiving Hostinger account
- The domain you want to transfer is active and managed within Hostinger
In this example, I am transferring the domain from one account to another.
Step 1: Initiate the Domain Transfer from the Original Account
- Log in to the Hostinger account that currently owns the domain
- Go to Domains
- Click Manage next to the domain you want to transfer
- Navigate to Domain Ownership
In this section, you will see the option Move to another Hostinger account. Click Move to begin the transfer process.

Step 2: Enter the Receiving Account Email
You will now be asked to enter the email address of the Hostinger account where you want to move the domain.
- Enter the email address associated with the receiving Hostinger account
- Click Send Request
Hostinger will send a transfer request to that email address. If the request is not accepted within 10 days, it will be automatically canceled.
Get 20% discount on your hosting.
Step 3: Accept the Transfer Request (Receiving Account)
Now, log in to the email inbox of the receiving account.
- Open the email from Hostinger
- Click Confirm
- Complete the human verification (CAPTCHA)
Once verified, you will be redirected to the Hostinger dashboard of the receiving account.
Step 4: Accept the Domain Move Request
Inside the receiving Hostinger account:
- Go to the Domain Portfolio
- You will see a pending request for the domain transfer
- Click Accept
- Click Confirm to proceed
This confirms that you are accepting the domain transfer into your account.

Step 5: Complete Domain Contact Details
Next, you will be asked to provide or confirm domain contact details.
- Select your country/province and enter the required information
- Click Next Step
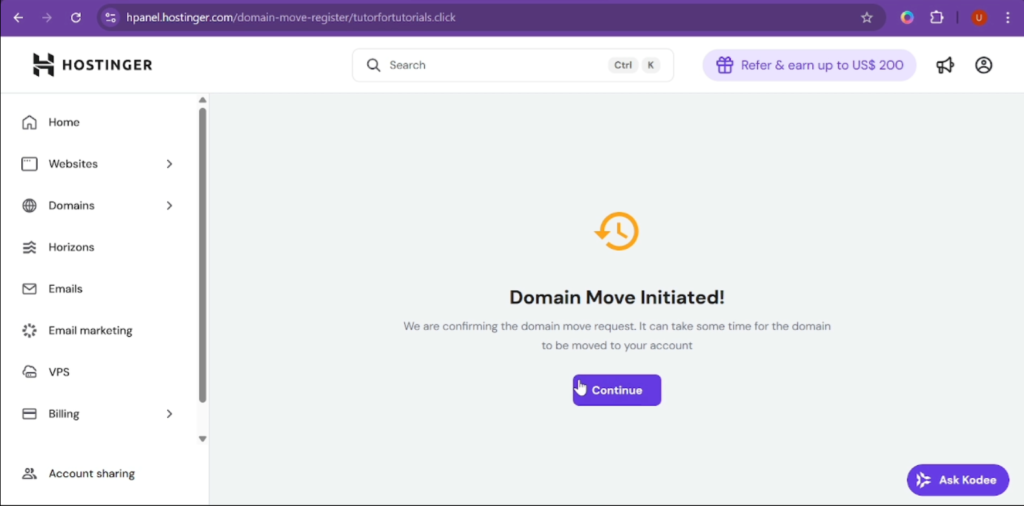
- Select Finish Registration and Move Domain
Hostinger will now begin processing the domain move. This step may take a short amount of time.
Step 6: Verify Registrant Change (Email Confirmation)
For security reasons, Hostinger requires confirmation from both accounts.
- Check your email again for a new message from Hostinger
- Click Accept to verify the registrant change
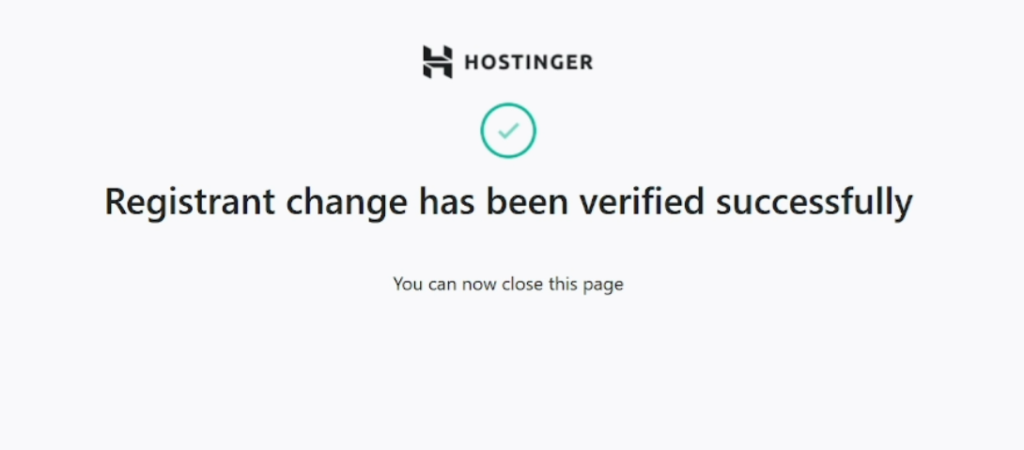
Repeat the same steps in the email associated with the sending account.
Once both confirmations are completed, you will see a message stating that the registrant change has been verified successfully.
Step 7: Confirm Domain Transfer Completion
Return to the Hostinger dashboard and click Check Again.
You will see a message confirming that the domain move has been completed. The domain will appear in the receiving account’s domain list within a few minutes.
Refresh the receiving Hostinger account, and the domain should now be visible and ready for use.

The domain has now been successfully transferred and can be used to:
- Create a new website
- Connect hosting
- Manage DNS and other domain settings
Also Read: How to Use Your Hostinger Balance to Purchase Services
This is the complete process for transferring a domain from one Hostinger account to another Hostinger account. The procedure is straightforward, secure, and typically completed within a few minutes.
If this guide helped you learn something new, please share it with others who may find it useful. Thank you for reading.